Sunday, June 1, 2014

2 Little Tables

Great news...my daughter moved back to Florida and is only 1 hr away now :)  It is great to have her close to home and so fun to be able to see her more easily than when she was 1200 mi away! She has moved into a nice apartment and is looking for some furniture to add here and there. Furniture that may not be her " forever furniture" , if there is such a thing, but affordable pieces to use for now. She has the basics, but definitely needs a few pieces. She and I found a cute bedside table a few weeks ago at an estate sale. We bought it for $8 and she wanted it painted and distressed in a medium gray. We went to Lowes and she picked out the color. I am happy to do the labor, but not decide on colors!

The "before" is a somewhat dreary table, not in bad shape, but dusty and neglected. It had a laminate top so I painted w zinzer primer as a 1st coat, then 2 coats of homemade chalk paint , sanding and distressing.


This one was a quick weekend project.


I like the layered paint look on the edges.

My supervisor approves.


We hit a number of thrift stores looking for end tables, but no luck. I got an idea of what she was looking for though and the following weekend I found a $15 solid wood end table at an estate sale. I liked the front detail and I loved the legs.


I sent her a few pictures, got a thumbs up, and started cleaning it up. This table was very dusty and a little grimey so I washed w TSP first, then painted w homemade chalk paint , sanded and distressed.

I sprayed the cute hardware black.


I love this little table.
I waxed both w Fiddes and Sons wax. Super smooth finish!


I have been wanting to try lining a drawer, so I used some fabric I had and put it on w modge podge. I painted a few coats and sanded it in the morning. It is super cute. I wish I had wrapped the fabric over the drawer and on the outside of the drawer as well. Maybe next time.


2 Cute little tables for my daughters new apartment, both from local estate sales. 

Things I learned from these tables:
  • Reusing existing hardware is always good. It keeps cost down.
  • I love Fiddes and Sons wax
  • I need some practice w drawer-lining/modge podge!
  • Shopping/thrifting/furniture rehab is always more fun when you are with someone special  :)


Monday, March 24, 2014

Lamp Rehab

I wanted to replace a lamp on my dresser because my current one was too short. I thought I would try rehabbing one so I could make it just the way I wanted it to look. I found a tall wooden lamp for $5 at a local thrift store and I thought it would be perfect to paint with my homemade chalk paint. I did absolutely no prep work. None. I didn't even wipe it down.


Wooden lamp w rusty metal base.The finish is scratched and dinged up.


I painted w 2 coats of my chalk paint w a light sanding in between. I lightly distressed after the second coat.It looked so much better already.


After painting 2 coats.


After light distressing. On my dresser looking good.

And now for the lampshade. I wanted to cover a shade in fabric. I found a very affordable drum shade by purchasing an old lamp w the perfect size shade at another thrift store. $12 for the lamp and shade. I spent a little time on Pinterest reading how others had covered shades in fabric and headed to Joanne's.


Just the right shade waiting for a  pick-me-up.


Fabric is measured and cut , ready to glue.


My trusty project supervisor


I ironed the fabric thoroughly to get all creases and wrinkles out before I started. I rolled the fabric around the shade cutting the fabric w an extra inch on top and bottom. I ironed the fabric one last time before glueing. I tried to pull the fabric tight as I went along the top and bottom to keep from having any wrinkles or extra fabric.


I used painters tape to hold the ends together until the glue was dry.


Finished shade


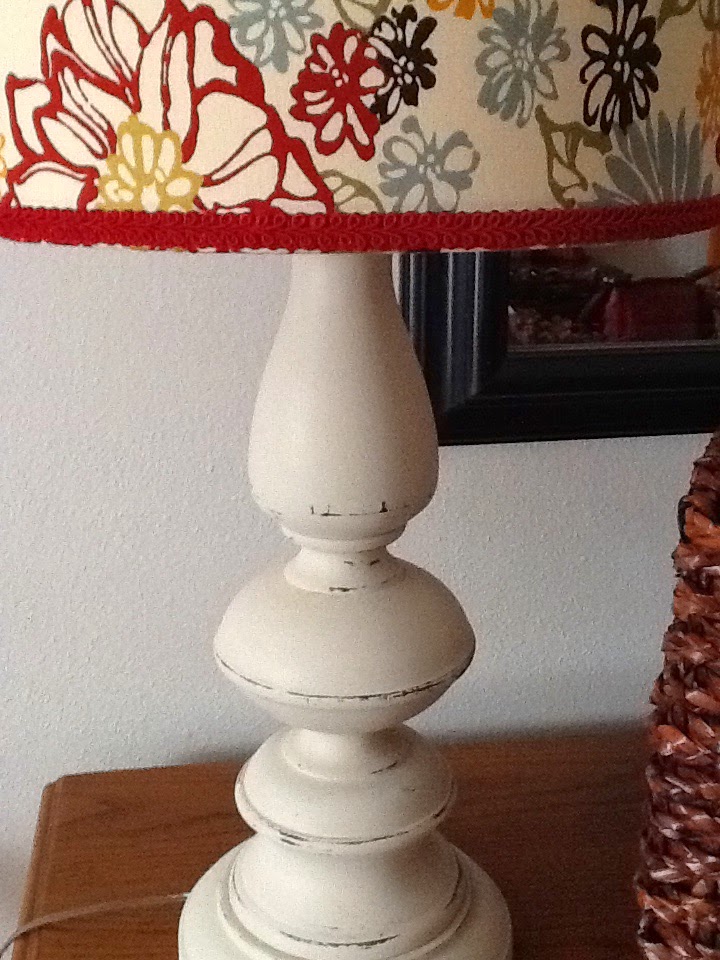
 I added a red braided trim to the top and bottom to finish it off. Fabri-Tac was the glue I used. It was easy to work with and dried quickly. I covered the shade in one evening. It was a fun quick project.

Evening picture, finished project


Daytime look


Close up of the finished project

I did not wax the base so it has a matte look. I'm happy with the finished project :)


Tuesday, February 18, 2014

Thrift Store Treasure

My children are growing up too fast.Way too fast. My daughter is a college grad and lives way too far away.  My son is in college and isn't home very often.I could write many blogs on my wonderful kids, but that is for another day.
My sweet babies 1993


  With my daughter living in another state,her tiny bedroom is in need of a makeover. I would love for her to come home for a visit and have a comfy pretty room to relax in. I just happened to have inherited a full size mattress and box spring set which would be great if I had a pretty bed for it. Enter the Thrift Store Treasure :)


The headboard was very scratched up, but petite in size which was perfect for the room.


The footboard was splintered at the bottom and was a mess. Part of the side rail supports were broken off.


After wood glue and c-clamp, wood filler and sanding
My husband gave me a lesson on using the drill press and I repaired the side rail supports. I spent a little time prepping. I washed w TSP, did a little bit of sanding, but I spent most of my prep time on the splintered footboard. Ok, ready to paint. I went with an antique white homemade chalk paint recipe and some distressing.
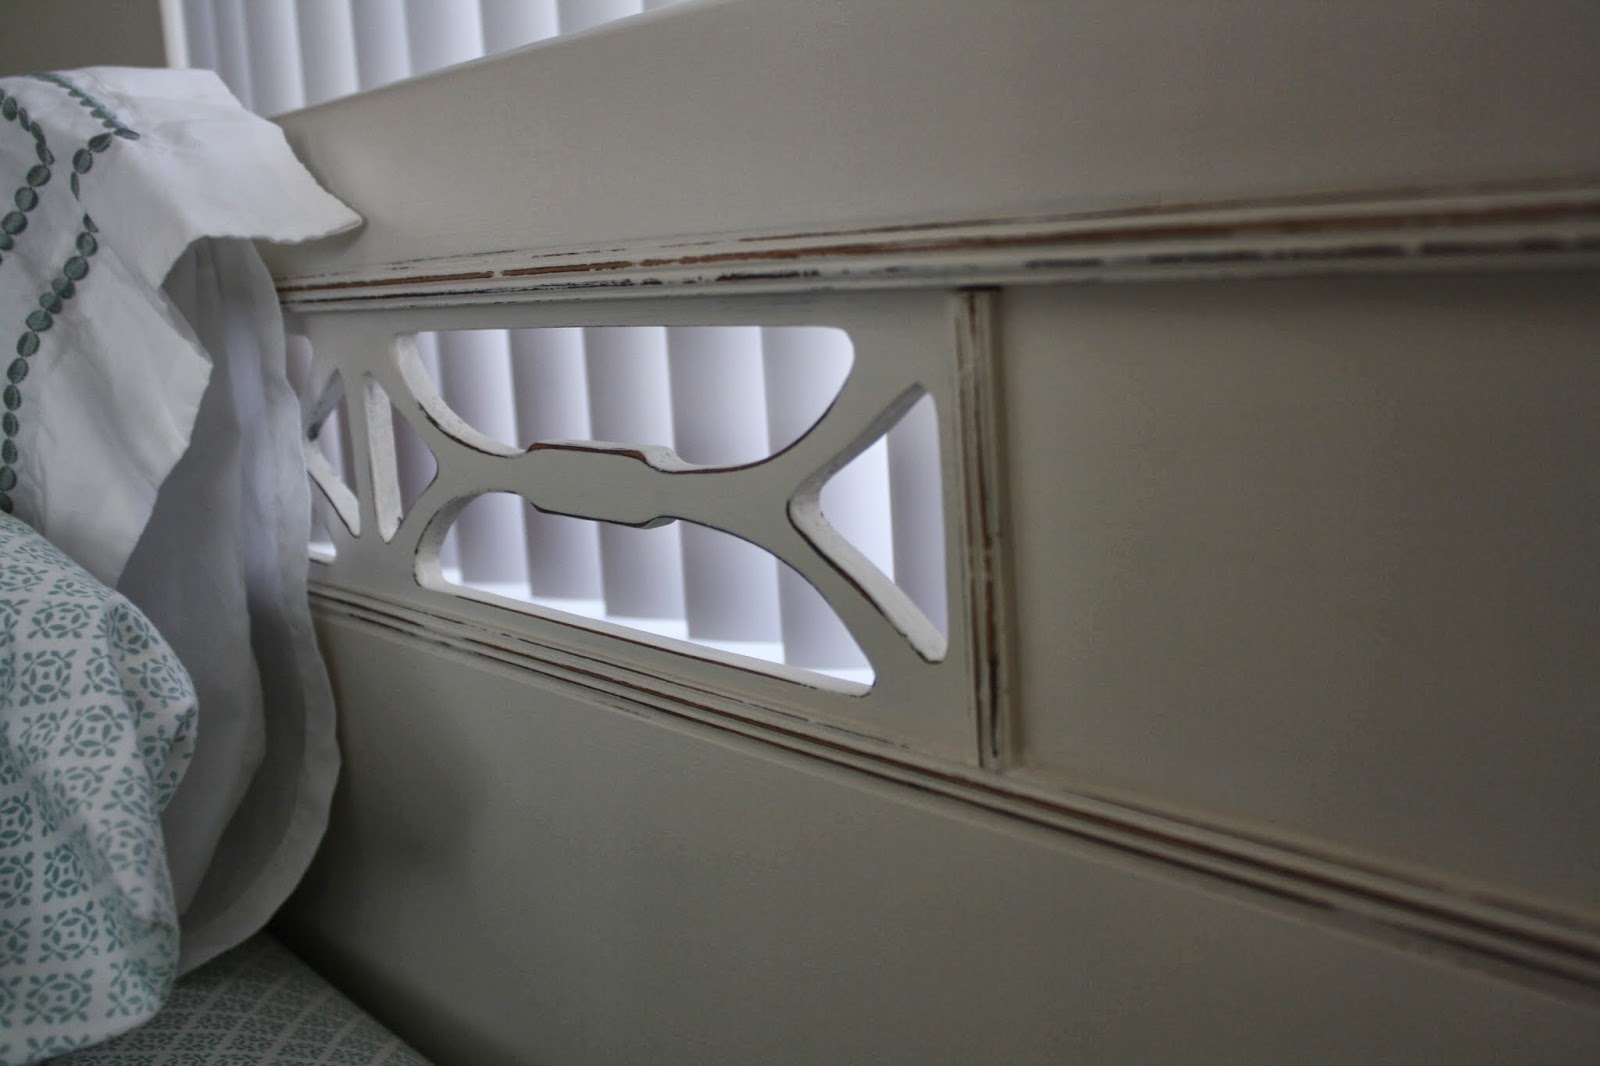
I love how the pretty details become more obvious after painting and distressing.


I really love the petite-ness of this bed.

The footboard is one of my favorite parts of the bed. Its small size does not eat up the limited room space, but it gives the bed a nice ending.
So happy with this bed :)

I gave the bed a good sanding between coats and used a tack cloth before the next coat of paint. I finished the bed with a coat of Fiddes and Sons light wax polish which I LOVE. It gives a beautiful sheen with no glossy shine.

This was a pretty quick project. It was super fun to transform it from dark dreary and beat up to light and fresh in a short time. One of the best parts of this treasure was the price....$15!!


The repaired splintered footboard.Looking good.


Things I learned from the Thrift Store Treasure:


  • How to use the drill press
  • How to counter-sink screws which I'm sure will come in handy in future projects
  • How much I really LOVE Fiddes and Sons wax! 
  • How I love the chalk paint "forgiveness". It seems to fill in some of the scratches I don't sand.
  • How much I love the finished super smoothness of the chalk paint after coverage and light sanding. 


Saturday, February 8, 2014

Sister Visit :)


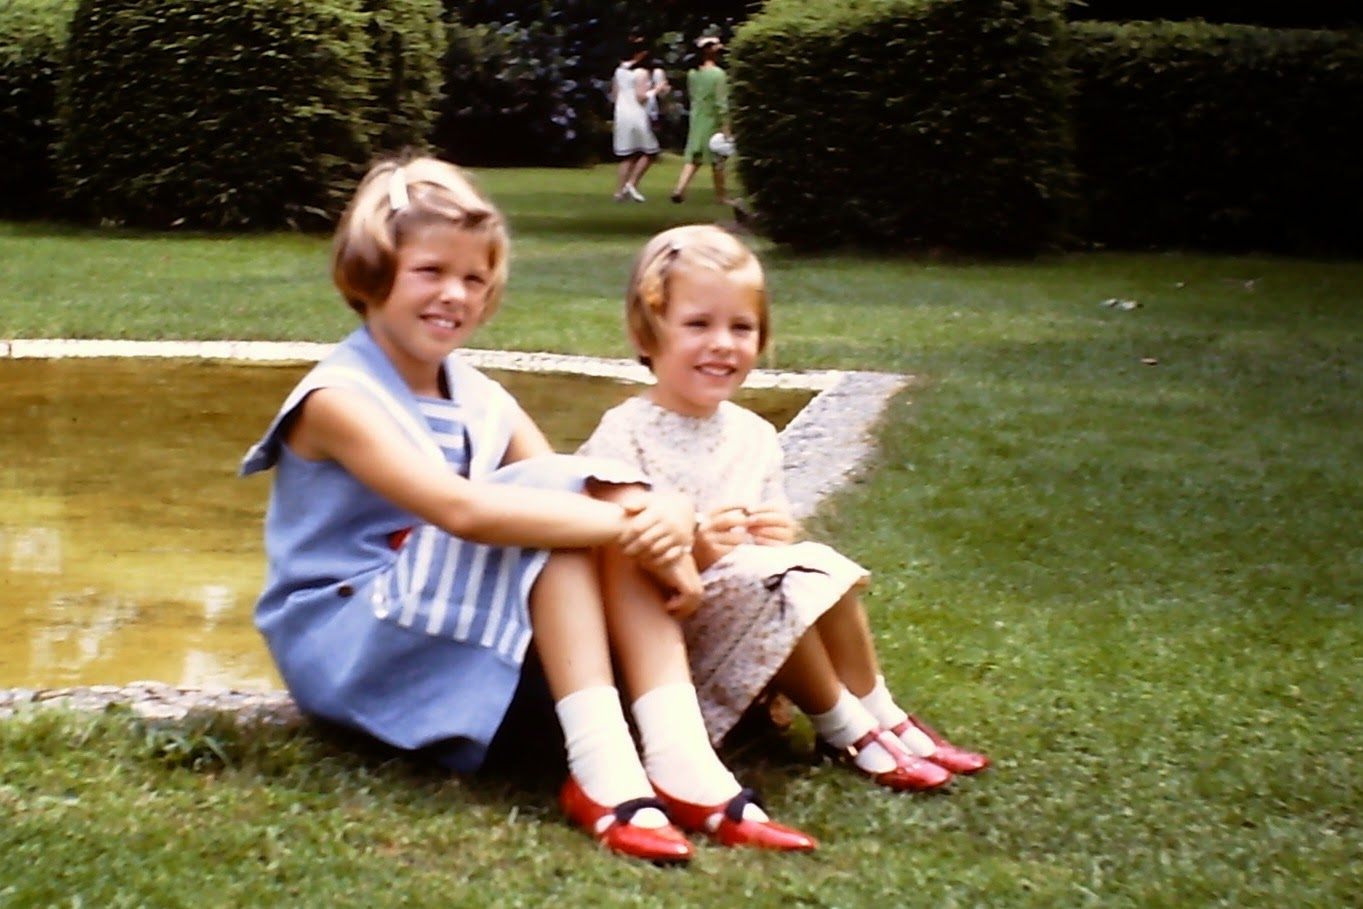
My sister, Karen, was able to come to Florida last week for a short visit. We didn't have much time, but I really loved having her here. In our short time together,we survived a trip to the beach in 50 degree weather w 25mph winds to search for sea beans (not much luck), we shopped in our quaint local downtown, and we ate and sampled our way though a local farmers market. I hope that we will be able to get together again soon! Here is a picture of us in honor of our recent time together. 


Karen and Mary 


Karen is very cool in that she is one of those rare people who always seemed to know what she wanted to be when she grew up. She knew it in high school, followed that path in college, and has had a long career in that same area. She and her husband live in the country with dogs, a pig ,and a donkey who thinks he's a dog. She makes amazing jellies. She gardens. She has spent endless hours helping her family and her church. We always have a good time when we are together and we always laugh a lot!


I hope we are able to get together again soon :)

Saturday, February 1, 2014

Estate Sale Buffet

There is an estate sale store in my town that I found last year. I love it there. Unfortunately it is more expensive than our thrift stores, but they always have great items and will occasionally have a good sale when inventory is high. I had been looking for a bigger piece of furniture for my entryway when I found the perfect piece.I stalked it for a few months. I went weekly to the estate store and made the same offer every week. After a few months of the item not selling I was finally able to make my purchase:)


 It was really dinged up, but it was interesting w nice legs and lots of storage. There were pieces of trim around all of the drawers that had been broken off, but most the broken-off pieces were in a drawer available to be glued back on. My "before" pictures really don't show how much repair was needed. 


Black wooden trim around edge of drawers mid-repair. All drawers had sections of missing trim.


Trim around drawers after repair, paint and glaze.

I spent lots of time cleaning, sanding ,gluing and sanding again. I primed w an oil base primer, then painted the body off-white followed by an antique glaze.  I used a semi gloss black for the top.


Pretty legs
I love how the pretty details are more obvious after glazing.


 One of the original wooden knobs was missing and I couldn't find another knob close enough, so I used all of the original knobs which I painted black, then found 2 small black metal knobs for the top center drawer. 


This is the biggest project I have done so far when you consider the repairs and the painting. It is just the right size for the space I have. It has wonderful storage as a bonus.

Things I learned from this project:
  • Take more pictures throughout the entire process.
  • Don't be afraid of a piece with some needed repairs.
  • Look into chalk paint as an alternative to cut down on prep/priming!
  • I don"t like semi gloss on my furniture
  • Don't overdo the glaze! A little goes a long way.